Welcome to the crumb quilt tutorial! Discover how to transform small fabric scraps into a vibrant, eco-friendly quilt. Learn the basics, benefits, and creative process of crumb quilting.
What is a Crumb Quilt?
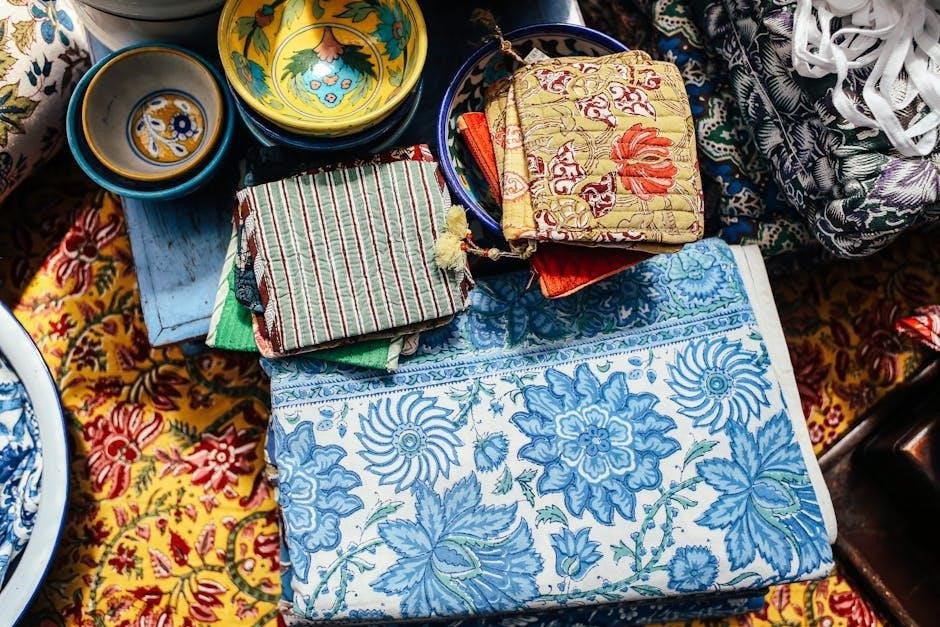
A crumb quilt is a unique and creative way to use small fabric scraps, transforming them into a beautiful, one-of-a-kind quilt. It involves sewing together tiny pieces of fabric, often irregular in shape and size, to create vibrant and eclectic blocks. Unlike traditional quilts, crumb quilting embraces imperfection, allowing quilters to experiment with color, texture, and pattern. The process is both eco-friendly and budget-conscious, as it utilizes leftover materials that might otherwise be discarded. Crumb quilts are perfect for quilters who enjoy spontaneity and want to create something truly personal and artistic. This technique is ideal for beginners and experienced quilters alike, offering endless possibilities for creativity.
Benefits of Using Small Fabric Scraps
Using small fabric scraps in crumb quilting offers numerous benefits. It allows quilters to reduce waste by repurposing leftover materials from previous projects. This eco-friendly approach not only saves money but also adds a personal touch to each quilt. Working with scraps encourages creativity, as quilters experiment with diverse colors and patterns. Additionally, crumb quilting is a great way to practice sewing skills without the pressure of precise measurements. The process is therapeutic, providing a relaxing outlet for crafters. By giving new life to fabric remnants, crumb quilts become unique, storytelling pieces that celebrate resourcefulness and artistry. This method is perfect for those who enjoy improvisational quilting and want to make a meaningful impact on their crafting journey.
Basic Supplies Needed for Crumb Quilting
To get started with crumb quilting, you’ll need a few essential supplies. A sewing machine is crucial for piecing fabric scraps together efficiently. Sharp rotary cutters and rulers are helpful for trimming scraps into uniform sizes. A cutting mat protects your work surface and ensures precise cuts. Fabric scissors are handy for smaller adjustments. Thread, both neutral and colored, is necessary for sewing seams. Pins and an iron are essential for pressing seams flat. Batting and backing fabric are required for completing the quilt sandwich. Binding fabric and a sewing needle round out the list. These tools allow you to create a cohesive and polished crumb quilt while maintaining creativity and flexibility in the process.
Preparing Fabric Scraps for Crumb Quilting
Preparing fabric scraps involves sorting, trimming, and organizing small pieces to create uniform sizes for sewing. This step ensures a cohesive and structured crumb quilting process;
Gathering and Sorting Fabric Scraps
Gathering and sorting fabric scraps is the first step in crumb quilting. Collect small remnants from past projects, even tiny pieces, as they add unique character to your quilt. Sort scraps by color, pattern, or texture to create a cohesive design. Consider separating solids from prints and light fabrics from dark ones. This organization helps in creating balanced and visually appealing crumb blocks. Additionally, sorting by fabric type, like cotton, linen, or rayon, ensures compatibility during sewing. A well-organized scrap collection makes the quilting process smoother and more enjoyable, allowing you to focus on creativity rather than chaos. Proper sorting is key to achieving a polished final product.
Trimming Scraps to Uniform Sizes
Trimming fabric scraps to uniform sizes is essential for creating cohesive crumb blocks. Use a rotary cutter and mat to accurately cut scraps into squares or rectangles. Start by sorting scraps into similar sizes, such as 1.5-inch squares or 2-inch strips. Trim larger pieces into smaller, manageable sizes, ensuring straight edges. This step ensures consistency when sewing crumbs together. For variety, mix different sizes slightly, but maintain a uniform shape within each block. Trimming scraps also helps reduce waste and makes piecing easier. Consider labeling sorted sizes for quick access during assembly. Uniformity in size allows for precise sewing and a professional finish in your crumb quilt design.
Creating Crumb Blocks
Crumb blocks are made by sewing small fabric fragments together in a random arrangement, forming vibrant, eclectic blocks that showcase your fabric scraps creatively.
Sewing Individual Crumbs Together
Sewing individual crumbs together is the foundation of crumb quilting. Start by placing two small fabric scraps right sides together and sew along one edge. Press the seam, then add another crumb to the strip, repeating the process. Continue sewing and pressing until your strip is the desired length. To create a block, sew multiple strips together, ensuring fabrics align and seams nest properly. Use a rotary cutter to trim excess fabric and maintain uniformity. This method allows for endless creativity, as crumbs can be arranged randomly or in a gradient pattern. The process is forgiving, making it perfect for beginners. Embrace the chaos of mismatched seams and uneven edges—it’s part of the charm!
Assembling Crumb Blocks
Once individual crumb strips are sewn, it’s time to assemble them into blocks. Lay out the strips on a flat surface, arranging them into a cohesive design. Pin the strips together to ensure alignment and sew along the edges. Press seams flat for a smooth finish. Trim the block to a uniform size using a rotary cutter and mat. For accuracy, add a small border or sashing between blocks if desired. This step brings your crumb quilt to life, transforming random scraps into a structured yet whimsical design. Don’t worry about perfect alignment—crumb quilts embrace imperfection!
Trimming Blocks to Size
After assembling your crumb blocks, trim them to uniform sizes for consistency. Use a rotary cutter and mat to ensure clean, straight cuts. Measure each block carefully, leaving a small seam allowance around the edges. Trim excess fabric, aligning the edges neatly. For accuracy, place a ruler along the block’s edges and cut slowly. Trimming ensures your quilt top will piece together smoothly. If blocks vary slightly, trim them to the smallest size to maintain harmony. This step is crucial for creating a cohesive quilt design, even with the irregularity of crumb blocks; Proper trimming sets the stage for a polished finish.
Piecing the Crumb Quilt Top
Piecing the Crumb Quilt Top
Arrange your crumb blocks in a cohesive design, ensuring a balanced and visually appealing layout. Sew the blocks together, matching edges carefully to create a seamless quilt top.
Arranging Blocks in a Cohesive Design
Arranging crumb blocks requires a thoughtful approach to create a visually appealing quilt top. Start by laying out the blocks on a large surface or design wall to visualize the overall design. Group similar colors or patterns together to create a sense of harmony, or mix them for a vibrant, eclectic look. Consider balancing large, bold blocks with smaller, simpler ones to avoid overwhelming the design. Experiment with gradients or thematic arrangements to add depth. Don’t be afraid to move blocks around until the layout feels cohesive. This step is where your creativity shines, allowing you to transform random scraps into a unified work of art.

Adding Batting and Backing
Layer your crumb quilt top with batting and backing fabric, ensuring both are slightly larger than the quilt top. Carefully align and secure with spray or pins.
Layering the Quilt Sandwich
Layering is a critical step in crumb quilting. Start by placing the backing fabric on a flat surface, smoothing out wrinkles. Next, add the batting, ensuring it covers the entire backing evenly. Finally, carefully position the crumb quilt top over the batting, aligning edges precisely. Use quilting pins or spray adhesive to secure all layers, ensuring a smooth, tight fit. This step ensures stability while quilting, preventing shifts or wrinkles; Take your time to smooth and check alignment for professional results. Proper layering sets the foundation for successful stitching and a polished finish. Make sure all layers are evenly spread and free of creases before moving on to quilting.

Quilting and Finishing
Stitch the quilt layers together using your preferred quilting method, then bind the edges for a polished finish. Complete your crumb quilt with care and precision;
Stitching the Quilt Layers Together
Once your crumb quilt top is pieced, it’s time to stitch the layers together. Begin by carefully aligning the quilt top, batting, and backing. Use pins or spray adhesive to secure the layers. Choose a quilting method, such as free-motion, straight-line, or stitch-in-the-ditch, to sew through all layers. For even stitching, consider using a walking foot on your sewing machine. Ensure consistent seam allowances and smooth fabric movement. If using a domestic machine, work in sections, starting from the center and moving outward. For hand-quilting, use a needle and thread to stitch simple running or decorative patterns. After stitching, trim excess batting and backing, preparing the quilt for binding. This step brings your crumb quilt to life, transforming scraps into a cohesive, finished piece.
Binding the Quilt Edges
Binding is the final step to complete your crumb quilt. Cut strips of fabric, typically 2-2.5 inches wide, and sew them together to form a continuous binding. Fold the binding in half lengthwise, then attach it to the quilt edges using a ¼-inch seam. Start at the center of one side, aligning the binding with the quilt edge. Miter the corners for a professional finish. Once sewn, fold the binding over to the back and hand-stitch in place using a blind stitch. Ensure the stitching is secure and invisible. This step seals the quilt and adds a decorative frame, giving your crumb quilt a polished look. Proper binding protects the edges and enhances the overall durability of your finished quilt.
Tips for Success
Embrace creativity and patience when working with small fabric pieces. Organize scraps by color for a cohesive look and secure seams to prevent loose threads.
Common Mistakes to Avoid
While crumb quilting is a fun and creative process, there are a few common mistakes to watch out for. One of the most frequent errors is ignoring seam allowances, which can lead to mismatched edges. Another mistake is not trimming scraps uniformly before sewing, causing uneven blocks. Additionally, some quilters overwhelm themselves with too many colors or patterns, resulting in a chaotic design. To avoid these issues, always trim scraps to consistent sizes and organize fabrics by color or texture for a cohesive look. Don’t overcomplicate the process—embrace the simplicity of crumb quilting and enjoy the creative freedom it offers!
Displaying Your Finished Crumb Quilt
Once your crumb quilt is complete, it’s time to showcase your hard work! Hanging it on a wall or draping it over a bed are popular ways to display the vibrant, eclectic design. Consider adding a sleeve or tabs to the back for easy hanging. For a rustic look, use a quilt stand or ladder. You can also layer it over furniture for a cozy touch. Personalize the display by adding decorative pillows or a matching table runner. Remember to protect your quilt from direct sunlight to preserve the colors. Share your masterpiece with pride—it’s a testament to your creativity and resourcefulness in transforming scraps into something beautiful!